
How to take stop-worthy photos for social media (without a fancy camera)

I remember the exact moment that I learned about this new thing called "Facebook", kind of like how we can all remember where we were when 9/11 happened or when Princess Diana died. I was studying for the month of August 2005 at the University of Hawaii's Center for the Study of Active Volcanoes with students from all over North America. Only 2 of us in our group were Canadian, and we spent the month having arguments with the Americans over how to say words like nuclear, about, and bagel. For the record, nuclear is 2 SYLLABLES, not 3, despite how George Bush pronounced it. It's nu-clear, not nu-cu-lar. I digress.
We were in the lab one day checking our e-mail, and all the U.S. students started checking their "Facebook" pages. Us Canadians were like "what's Facebook?", so they sat us down and showed us how they could keep up to do date and interact with all their friends in their "newsfeed". I distinctly remember thinking "what a waste of time! Why would anyone want or need this?". That makes me literally laugh out loud now.
As far as I can tell from looking back through my über embarrassing and mostly drunk pictures from university early posts, I joined Facebook on February 27, 2007. That means that I've been on social media for almost 10 years.
I think we can all agree that how we interact with our social media has changed. Gone are the days when we used to like and comment on every single one of our friends posts. Also gone, and thank God, are the days when we all used to post in 3rd person because the status box said "Ashley is ...". Posts from my early days on Facebook includes "Ashley is bored out of her frickin mind" and "Ashley is attempting to read Charles Darwin's "On the Origins of the Species'". Seriously, I thought that posting about reading some super old but groundbreaking science was going to make me sound super smart.
Almost 10 years on, most of us are done interacting with everyone. We mindlessly scroll away hours a day on multiple social media platforms just to see what everyone else is up to. Most of the time the only thing that makes us stop is seeing a picture of puppies and kittens with babies, because they're puppies and kittens with babies! As business owners, that's what we're competing with nowadays.
So how do you win that battle? According to this article, it's all about the pictures. Articles with pictures receive 94% more views than those without, 93% of the most engaging posts on Facebook are photos, and a picture is re-tweeted 128% more times than a video.
Here are the most recent stats from my business Facebook page:

Prime posting time for my page is 8 pm, and you can see that sometimes I shared links at that time with virtual crickets, and other times I shared a beautiful picture at 1 pm with a link to my blog post, and the exposure was great. Note that I have just over 1,300 likes on my Facebook page, and I haven't paid to boost any articles during this time period. When posts were seen 1,500+ times, those were totally organic shares and views, without me having to spend a dime.
The most recent post at the top was a PDF that I spent an hour designing and only reached 579 people, but the posts on Nov 3rd and the 10th that were pictures I took with my iPhone in 5 minutes were seen by 3,100 and 1,900 people respectively.
I'm sure that the comments were due in part to the caption on the photo, but when the entire caption doesn't show, I know that what made people stop and want to click the "see more" button and read the whole post was the picture.
Gone are the days where you can post a grainy and dark picture of what you ate for breakfast, and get people commenting on it. It's time to step up our game if we want to get noticed in this crowded online arena.
A few years ago, I would have thought that I had to go and buy an expensive DSLR camera, maybe even multiple fancy lenses, and learn how to use Photoshop to edit my photos. But now, with the amazing technology that we have at our fingertips on our phones, you can take advantage of built-in functionality and free apps to take amazing, comment-inducing pictures that get people to stop scrolling mindlessly through their feeds and start taking the time to read your caption, and hopefully click through to your website, join your e-mail list, and buy stuff from you.
Here's how to up your social media game by taking stop-worthy pictures:
1. Take your picture in the proper layout
Platforms like Facebook and Instagram are optimized for a square picture to show up in the newsfeed, although Instagram has recently allowed landscape and portrait photos to be added as well. In a timeline post, Facebook automatically optimizes a photo to 470 by 470 pixels. If you know you're taking pictures for these two platforms and you're using an iPhone, you can change the layout of your pictures right in the camera app before you even take them by swiping right from the photo option to change it to "Square" from "Photo", instead of left for "Video". Voilà, you'll already be able to see what your final square pic will look like without having to edit it after the fact. This cuts down on the potential issue of cutting off important props or areas of interest that you wanted in your picture (think like cutting off someone's head when you used to take old school film pictures). At this time, Samsung phones don't have the ability to take a square photo, so you'll have to make your best guess and then edit it after the fact using the app I introduce to you below in #4.
2. Composition
Everyone, including myself, automatically thinks that whatever the subject of your picture, whether it be food, a person, or a landscape, must be centered in a photo. However, there's an interesting concept called the Rule of Thirds which is taught at the introductory level in any photography class. In this rule, you can think of taking your camera screen and splitting it up into 3 vertical strips and 3 horizontal strips with lines in between, resulting in a 9 by 9 grid on your screen. When you take a photo, center your object of attention either on the grid lines OR at the intersection of two grid lines. For outdoor photos, line the horizon up with either the top or bottom horizontal grid lines. The result will be a photo with more interest and movement that easily catches the eye as people are scrolling through their feeds much more than photos that are centered. To turn this function on in your iPhone, go to Settings > Photos & Camera > Grid, and swipe to turn it on. In a Samsung phone, tap the settings cog in the camera app and scroll to the bottom of that menu. You'll see the "Grid Lines" feature, and toggle it on.
Here's the difference between two photos I took of the same subject, which I ended up using the one to the right as it's more interesting than the centered one on the left:


3. Styling
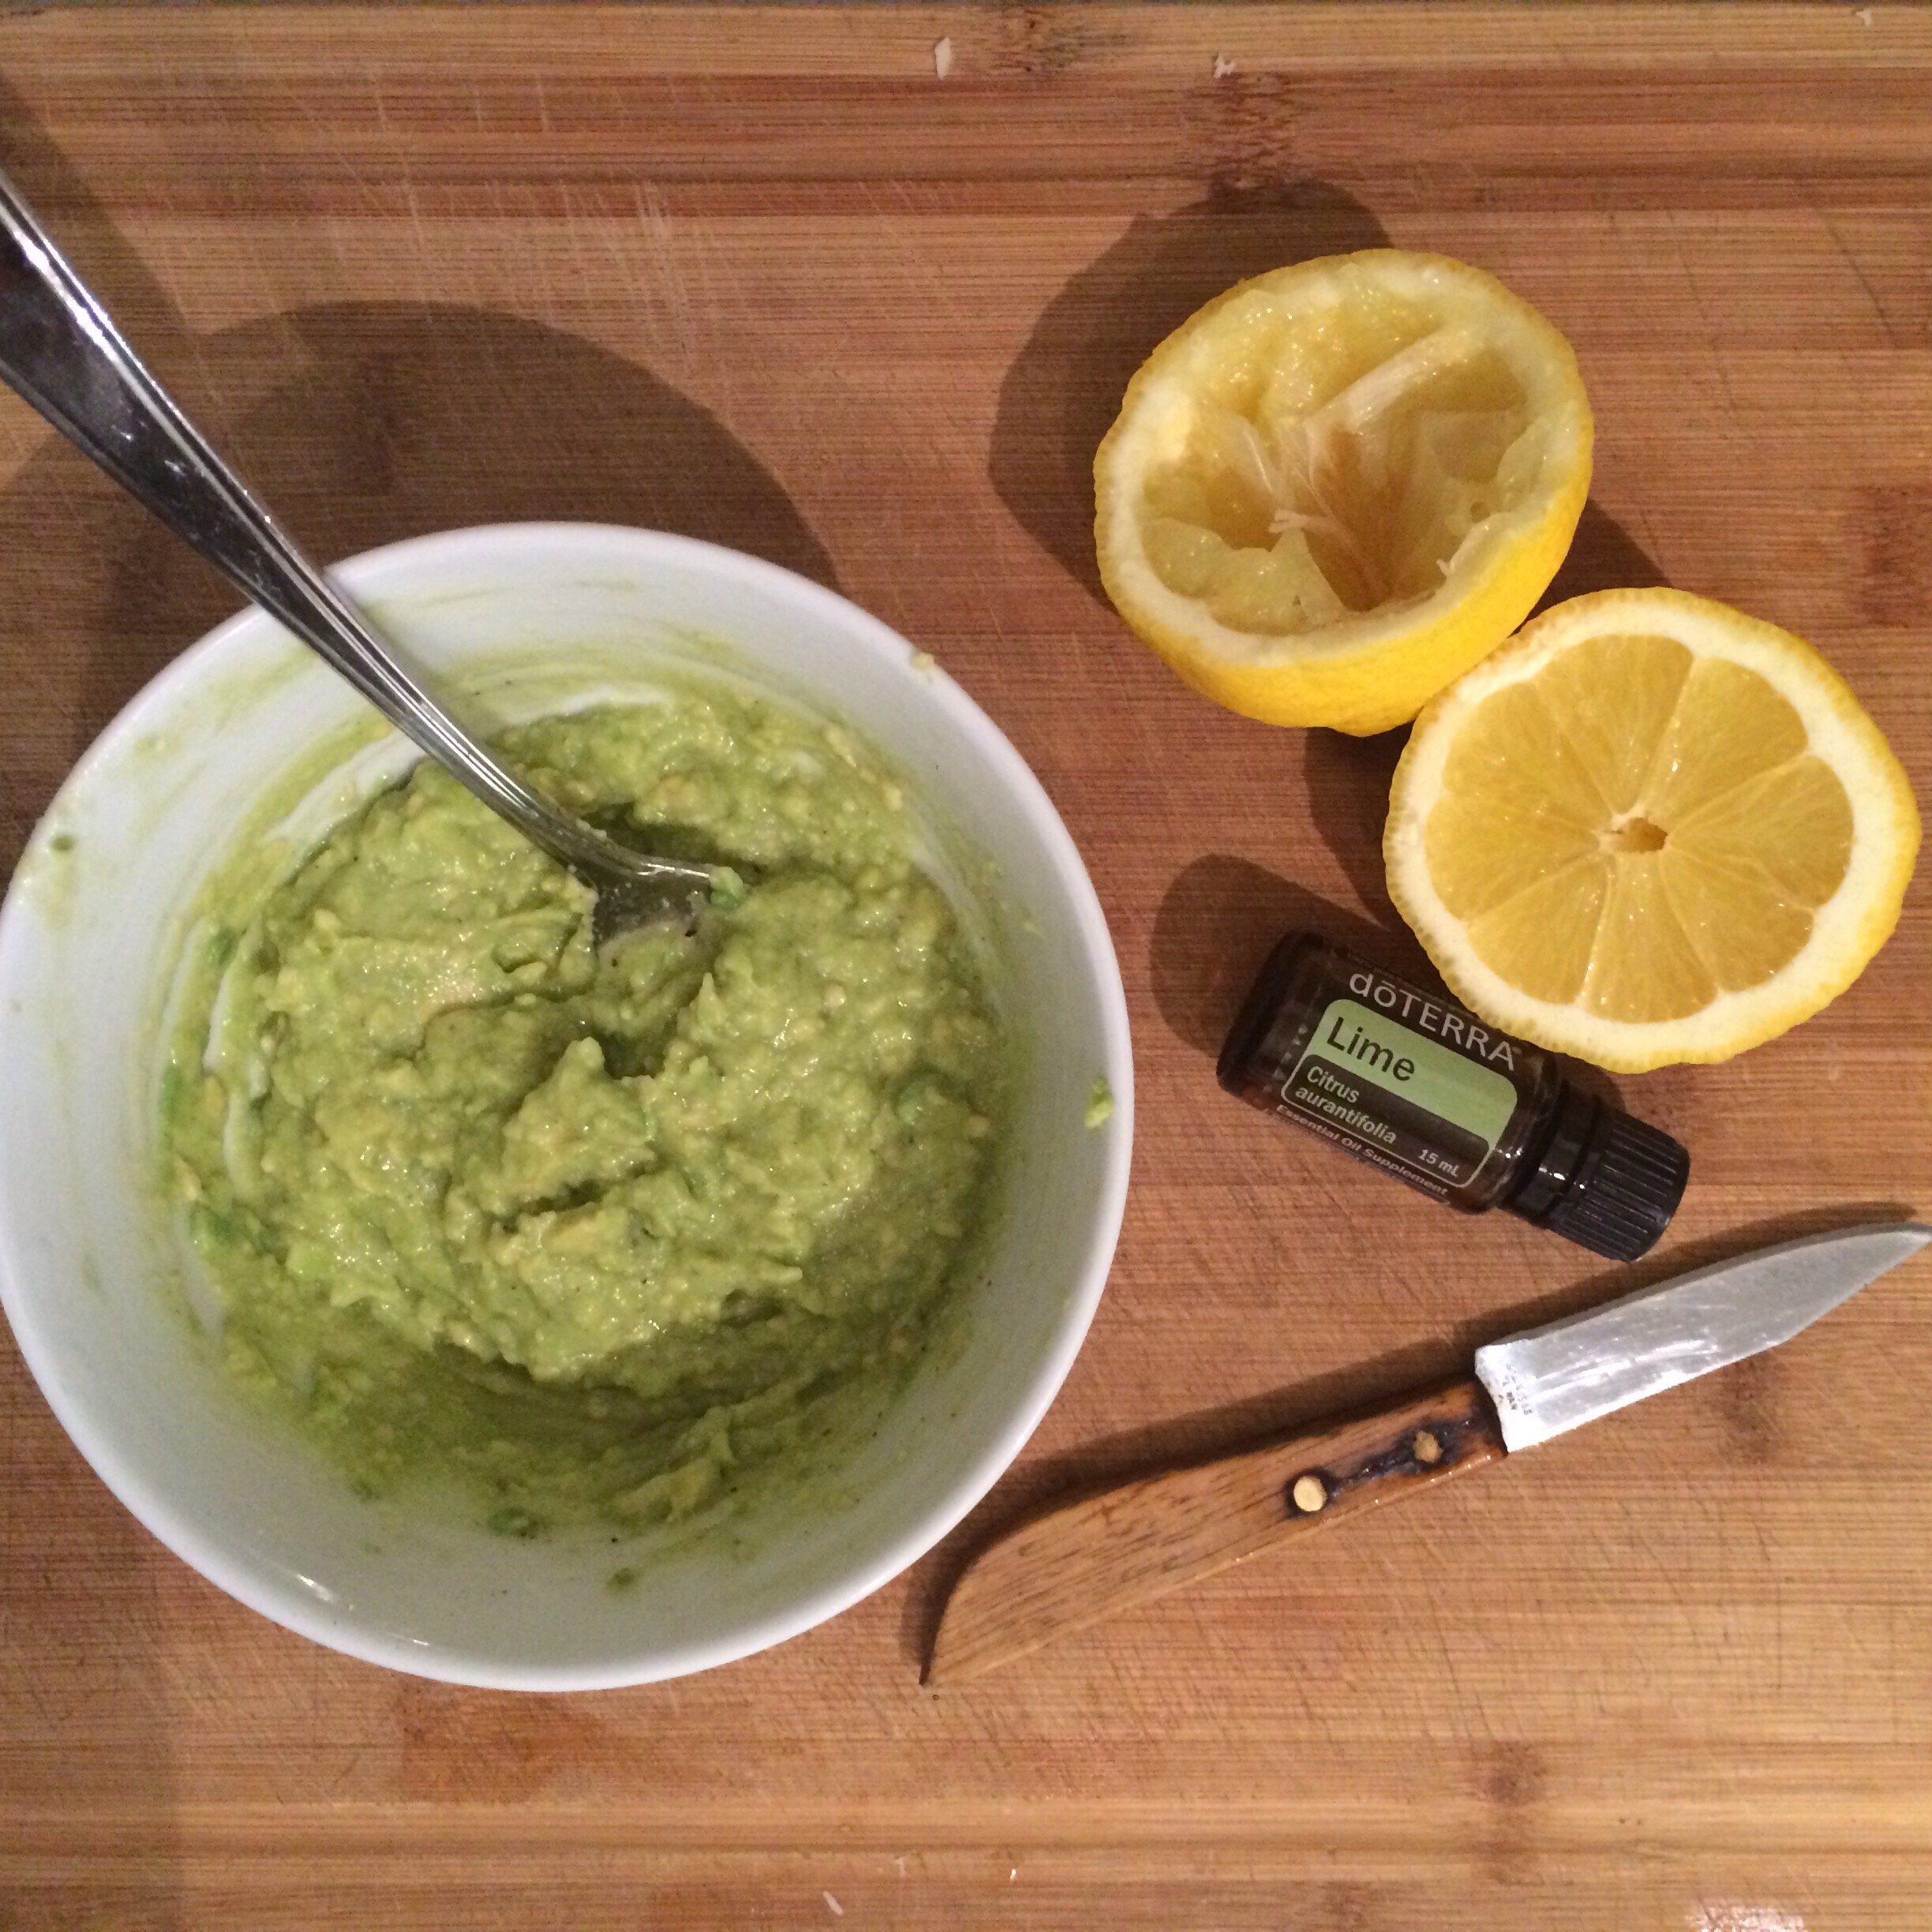
Gone are the days when you could take a centered pic of your Buddha bowl, green juice, or essential oils. People consume so much content and media in a day that they need something more interesting than that. Above all else, though, is their need to connect through stories. Your social media pictures are just as much a story by themselves as the words you use to write your captions. If you post food pics all the time, start including some of the raw ingredients, along with the kitchen tools or utensils you used to make the dish. If you post a picture of an inspiring book you're reading, add in the pen or highlighter you use to make notes in the margins along with your super cool bookmark. If you're posting a picture of your fave tea or bulletproof coffee, include an interesting napkin or tea towel, along with a few of the loose coffee beans or tea leaves. You're telling the picture of how you made it.
Here are some examples of how I styled some of my own pictures:


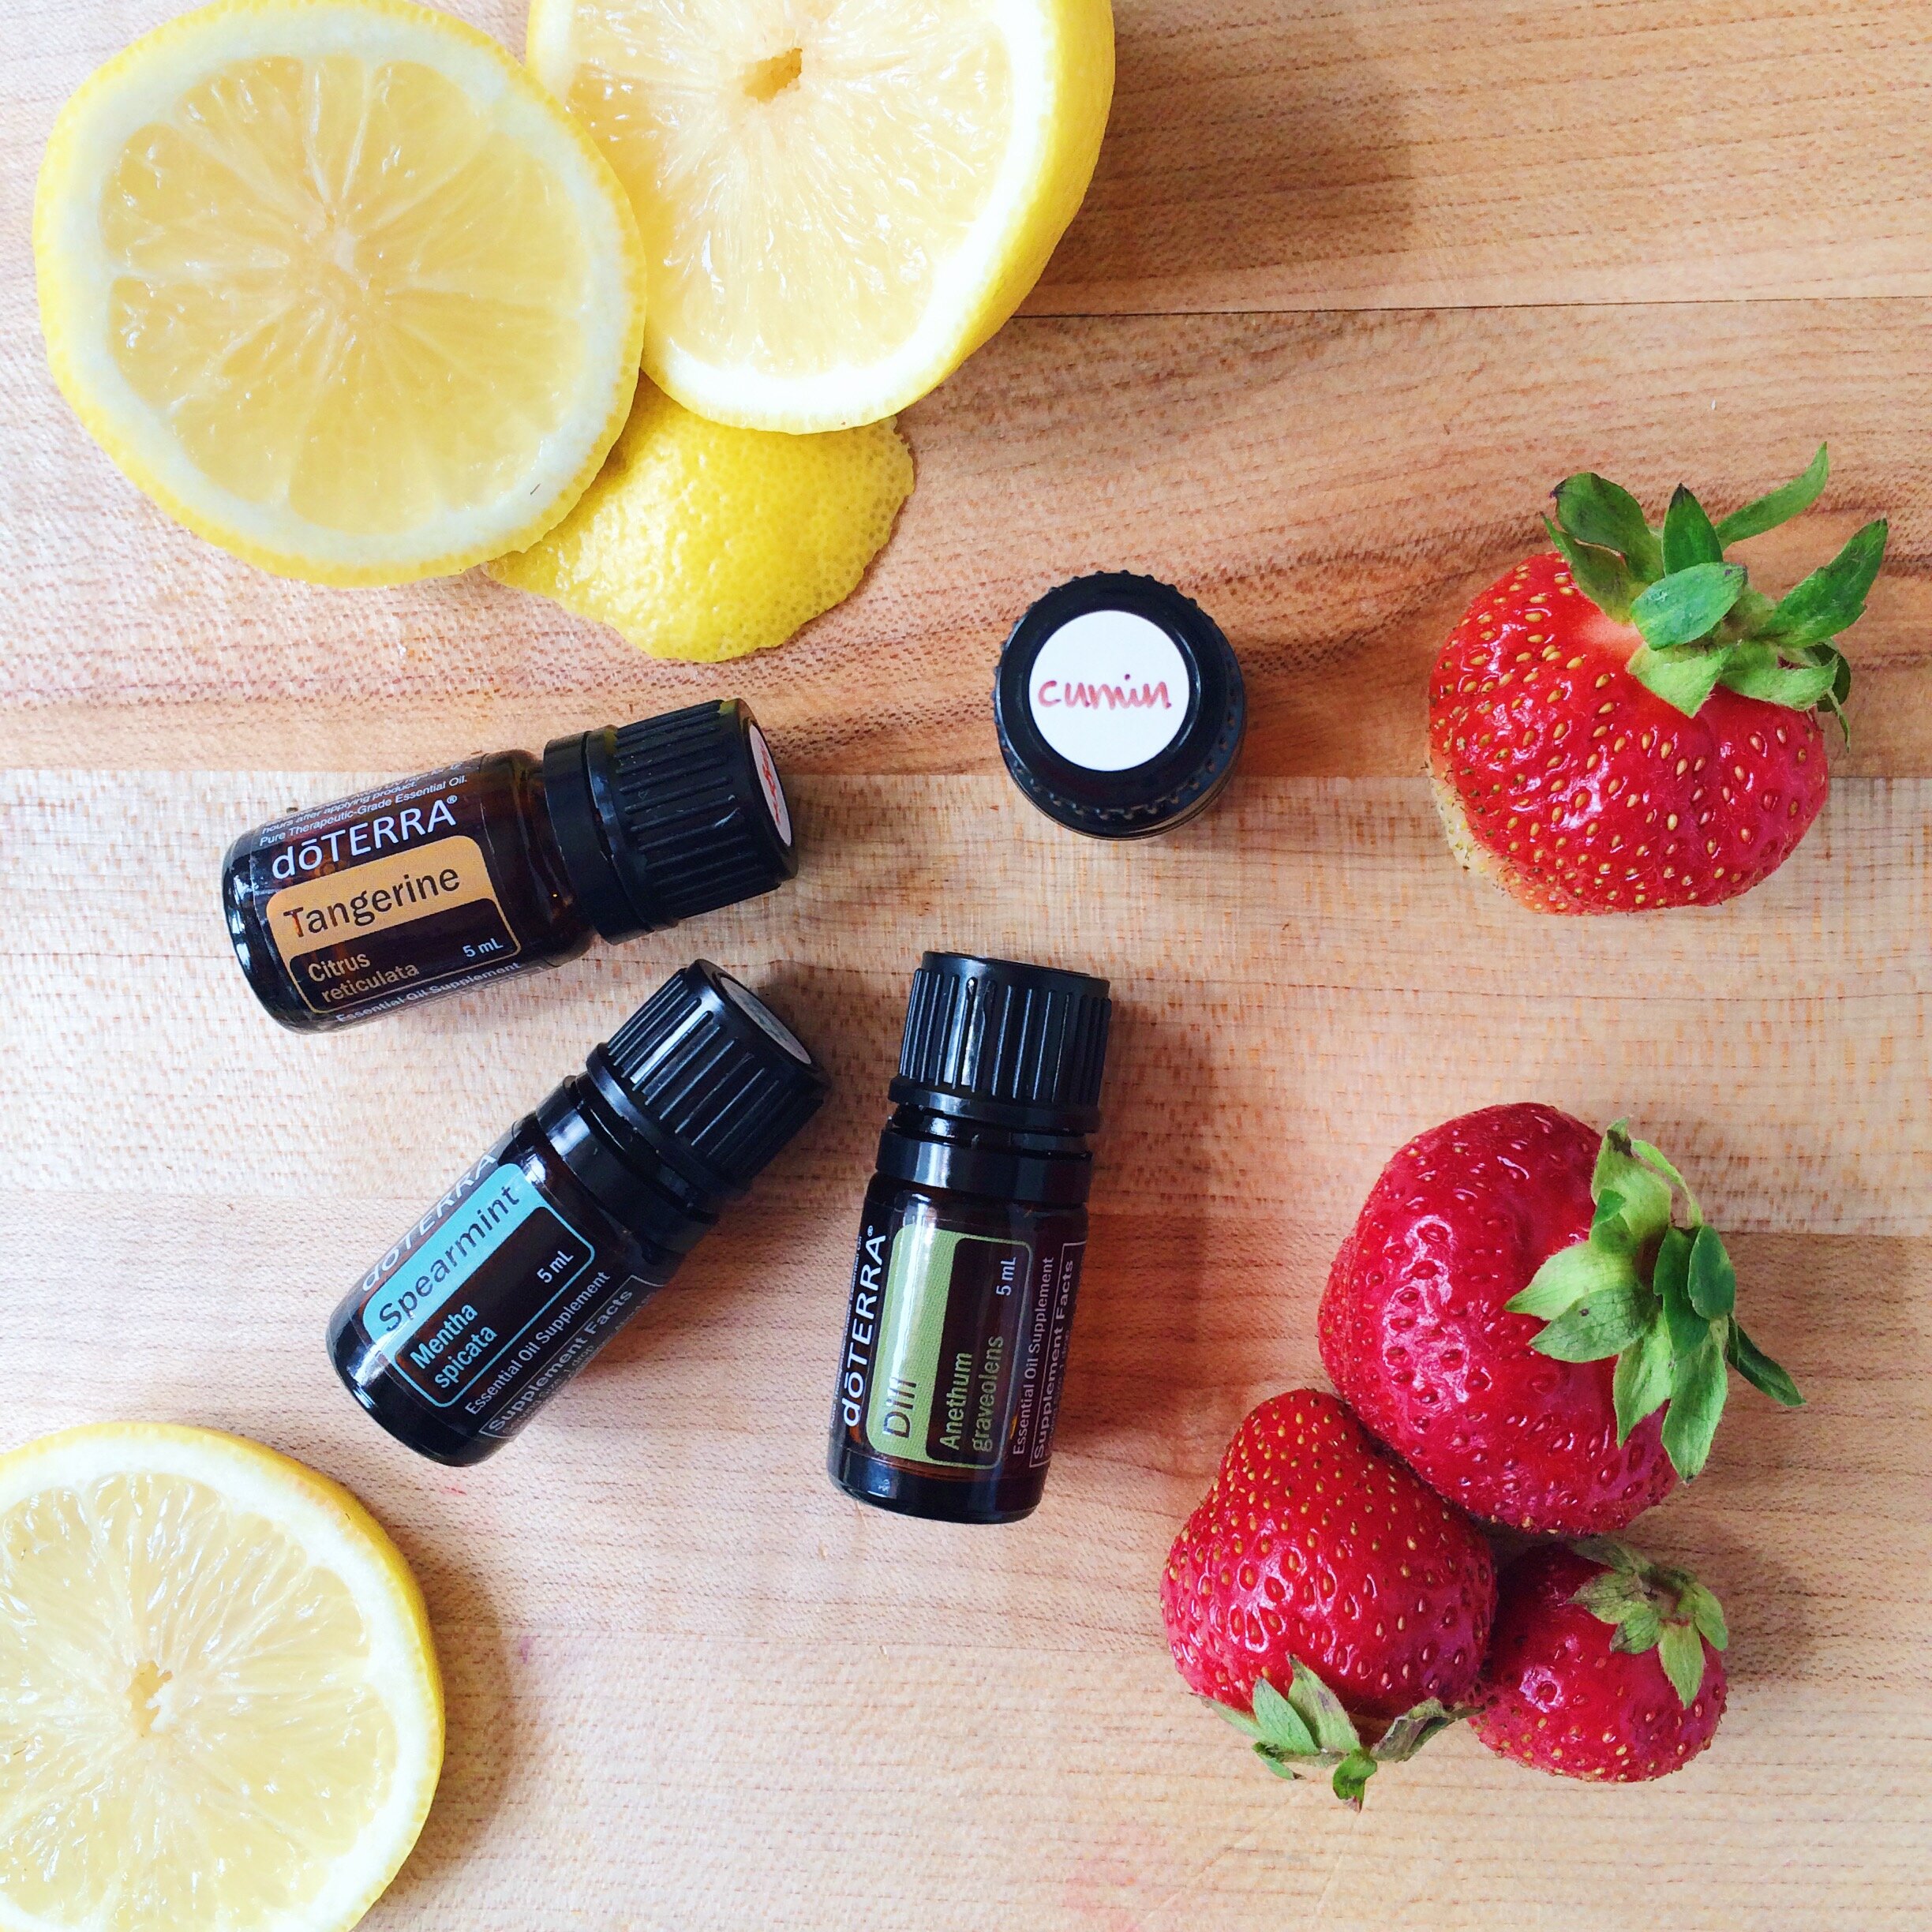
Could you take a picture of a bowl of popcorn, a tea latté, and 4 bottles of essential oils on their own? Of course! But they're much more interesting, and get people to ask about the recipes or what the products are for, when I include some other associated ingredients or props.
Don't be afraid to take pictures from different angles, either. I love a good food photo from on top, but every time I take photos I know I'll use in my social media feeds, I take between 5 and 10 different versions (at least!) so that I have lots to choose from.
4. Editing
This step is the one that, by far, makes the biggest difference between a photo that is obviously taken from your phone versus one by a professional camera. The best part is that you can use a free app called VSCO Cam for all your editing, and it's available for both iOS and Android products. In a matter of 30 seconds, you can have your photos edited to look 100% more professional and stop-worthy, all without having to go through the trouble of uploading them into complicated programs like Photoshop or Lightroom. Now, we're not talking about airbrushing out flaws or making pictures look totally unreal. All that I do is to up the exposure to make my photos look brighter (which I personally like), up the saturation a tad for brighter colours, and adjust the contract slightly. I have a sort of a formula that I follow that allows for my photos to look coherent in my feed, which helps people to know what to expect from my business and brand, and trust the quality of my content.
Below is an example of the same picture before (left) and after editing, which took me about 20 seconds to do:

One of the best things about VSCO Cam is that when you upload your picture to the app from your photo library, you have the choice of arranging it into a 3 picture wide feed, which is the same as how Instagram is set up. As you edit and upload pictures into it, you'll be able to see what your whole feed looks like together, just like if someone was viewing your profile to potentially follow you. Does it overall look appealing? Do the colours jive or clash together? Does it feel the way you want potential clients to feel when they work with you? These are all things you should consider when uploading pics to your social media feeds, as it's all about intentional branding.


