
5 ways get more followers on Instagram

Pin me 👆🏻 for later ;)
Let me ask you a question: do you want to get more followers on Instagram? Duh, who doesn’t?! It’s like our self worth is attached to that one number, followed by how many likes our last post got. Frankly, it’s exhausting. No matter how good it feels to get more Instagram followers and likes, it won’t necessarily find you new paying customers, but that’s an entirely different post. Today’s article is ALLLLL about how to get more followers on Instagram by taking better pictures.
I kind of cringe when I think about my business growing (or not) based on a pretty picture, but let’s all accept the fact that Instagram is a visual platform. Pretty pictures will always get more likes than less attractive ones.
Your pictures have to be so attractive that it makes someone stop in the middle of their mindless scrolling and actually read your caption or listen to your video, which is where you’ll win them over with your sparkling personality (and get them to buy stuff).
No pressure.
Then you add in that you’re not just taking pictures for your feed, but also for your Instagram stories, and it’s like WILL IT EVER END?! Sometimes I think we’ve replaced being judged by a handful of people when we walk into a room to being judged by potentially millions of strangers on the internet, and it doesn’t always feel good.
However, Instagram is a great way to market your business, so just like anything else in life, you have to focus on the good and try and minimize the bad. Or you could skip the line and pay thousands of dollars for ads.
So if you’re going to post pictures anyways on Instagram, might as well try and make them the most attractive as possible, right?
Which brings us to the question: how do you take a “pretty” picture? Is there a way to guarantee that other people will find it pretty, too, and do the Instagram double tap?
I’m happy to tell you that yes, there are some simple and free ways to take better pictures that more people will like using just your smartphone. A few tweaks with how you take your photos, followed by 30 seconds of editing using a free app, and boom! Your pictures will start getting you more of that dopamine boosting action.
Before we get to the secrets, I want to share that you absolutely do NOT have to have a fancy camera (like a Canon or Nikon) to take amazing pictures that get more followers on Instagram.
I repeat, do NOT go out and spend $1,000 you don’t have on a professional DSLR camera.
Unless you have an older version with a crappy, low resolution camera, you most likely already have a pretty great camera built right into your smartphone.
Plus, what’s better than a picture you didn’t take with a fancy camera, because it was too expensive and too big to lug around with you everywhere?
A picture you actually did end up taking with the phone that’s practically attached to your hand around the clock!
Invest in a fancy, expensive camera when you’ve proven to yourself that you can be consistent and love taking lots of pictures with the camera you already have.
Now that you know you can get started right now with the powerful tool you have in your hand (your phone), let get to it!
Here’s 5 ways to get more followers on Instagram by taking better pictures:
#1 Use the proper layout
I think we all know by now that Instagram prefers square images, which you can take on your phone … but did you know that you can upload portrait (taller images) and landscape (wider images) directly to your feed?
If you use taller, portrait images, they’ll take up more room vertically as people scroll through, giving you a slightly better chance of them stopping to read your content.
Note that if you upload images to a post that aren’t square, they’ll be cropped to a square when you look at your overall feed (it’ll stay portrait sized when you look at the individual picture), so make sure that the important part of picture still looks good when it’s re-sized automatically.
I used to take all my pictures that I was going to use on Instagram using the square mode on my iPhone, but since this change I now take all my pictures in the standard photo mode so that I have an image I can automatically reuse in Instagram Stories if I want to.
Here’s a great article (up to date as of this post being published in early May 2019) with the actual dimensions you want to use if you’re creating something in a graphic design program, like Canva or Photoshop.
To keep it simple, take your pictures in full screen “photo” mode on your phone, and you can always re-size it to a square after by editing it.
If you know in advance that you’re taking pictures only for your feed, and there’s zero chance you’ll be using that image in your Stories, you could use the “square” mode.
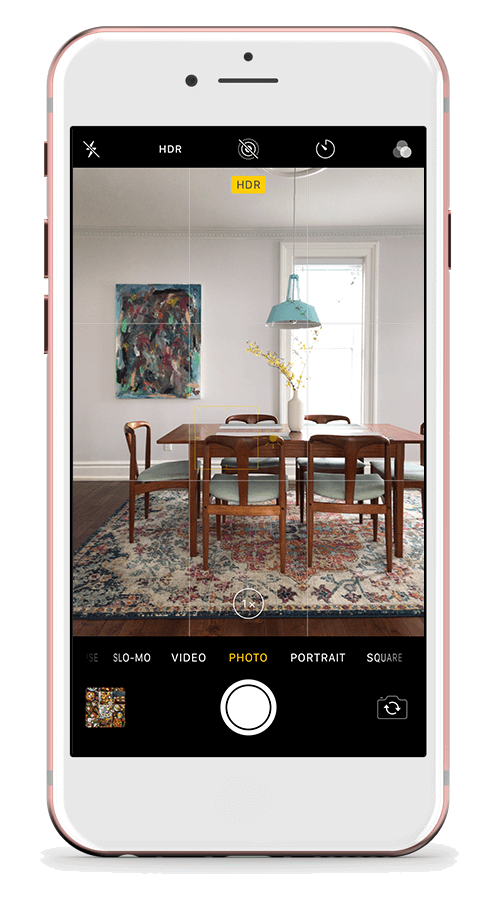
Photo mode on an iPhone

Square mode on an iPhone
#2 Take your pictures according to the "rule of thirds”
When we were growing up, and took pictures using an actual camera with film that would run out, you wanted to make sure that you didn’t cut anyone’s head off. You more than likely took all your pictures with the subject (a person, food, landscape, etc) in the dead centre.
It turns out, however, that pictures look more interesting when they follow a guideline called the “rule of thirds”.
When you look at an image, your eye tends to look at the centre of it first. When you follow the rule of thirds, the subject is closer to the edges, and so your eye has to look around the image to find the subject, which takes a little longer and allows your brain to take in more information (i.e. your goal when you’re using images to market and grow your business!).
Here’s an example of the rule of thirds in action:
When you’re looking in your view finder, split the screen into 3 equal vertical sections and 3 equal horizontal sections with lines in between, resulting in a 9 by 9 grid on your screen.
For more visual interest when you take a photo, centre your subject of attention either on the grid lines OR at the intersection of two grid lines.
For outdoor pictures, line the horizon up with either the top or bottom horizontal grid lines. Bonus that this will give you room if you want to add text over it!
You can turn on the grid function so that you can see it at all times on the view finder on your phone screen through the camera settings.
I show you how to do this in the free video training below (click here).

The rule of third grid turned on and highlighted so you can see it better.
The examples below show the difference between three totally unedited pictures I took of the same subject, one centered and two following the rule of thirds. Which one looks more interesting to you?


I personally like the middle version, plus there’s room if you want to put some text on the left hand side.
#3 Style your pictures
You know when they say a picture is worth a thousand words? That’s because pictures have the ability to tell a story … and that’s what Instagram is all about.
If you want more followers on Instagram, you don’t just want people liking your pictures. That’s just a vanity metric.
People consume so much content all day, everyday, that they need something more interesting than a lone picture of an essential oil bottle or a glass of green smoothie to follow you. Above all else, they need to connect through your stories, and your pictures are just as much a story by themselves as the words you use to write your captions.
You have an opportunity with each picture to be compelling enough to make someone want to click to your profile and tap that blue “Follow” button.
And you make your pictures more compelling by styling them so you can tell a story.
It’s going to take some time to figure out your personal style, but a great place to start is your favourite big accounts you follow on Instagram yourself.
If you follow a food blogger or nutritionist, and they post pictures of their recipes all the time, really take a look at how they style their pictures.
Are they more light, bright, and airy, or dark and moody? Do they take minimalist pictures on a white marble countertop, or do they have lots of props everywhere? Are their recipes super colourful and saturated, or are they more over exposed and washed out? Do they have hands in their photos, or maybe arrange jars and plates geometrically?
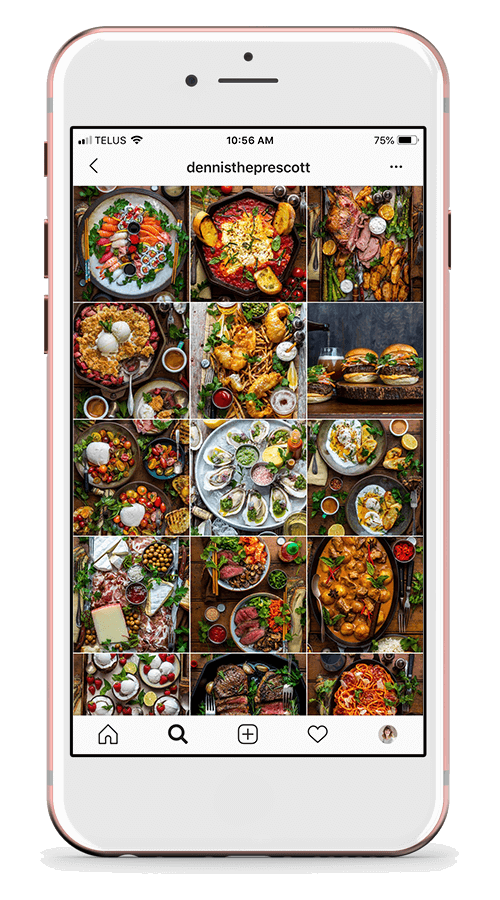
See how these 3 accounts have all styled their recipes differently, but each one has gorgeous pictures that 1,000% get more followers on Instagram:


Be a detective, and take a bit of time to dissect your favourite account’s pictures. Ask yourself what do you like about your favourite pictures of theirs? This will give you some clues about how you can start to style your own pictures to turn your Instagram feed into the one of your dreams.
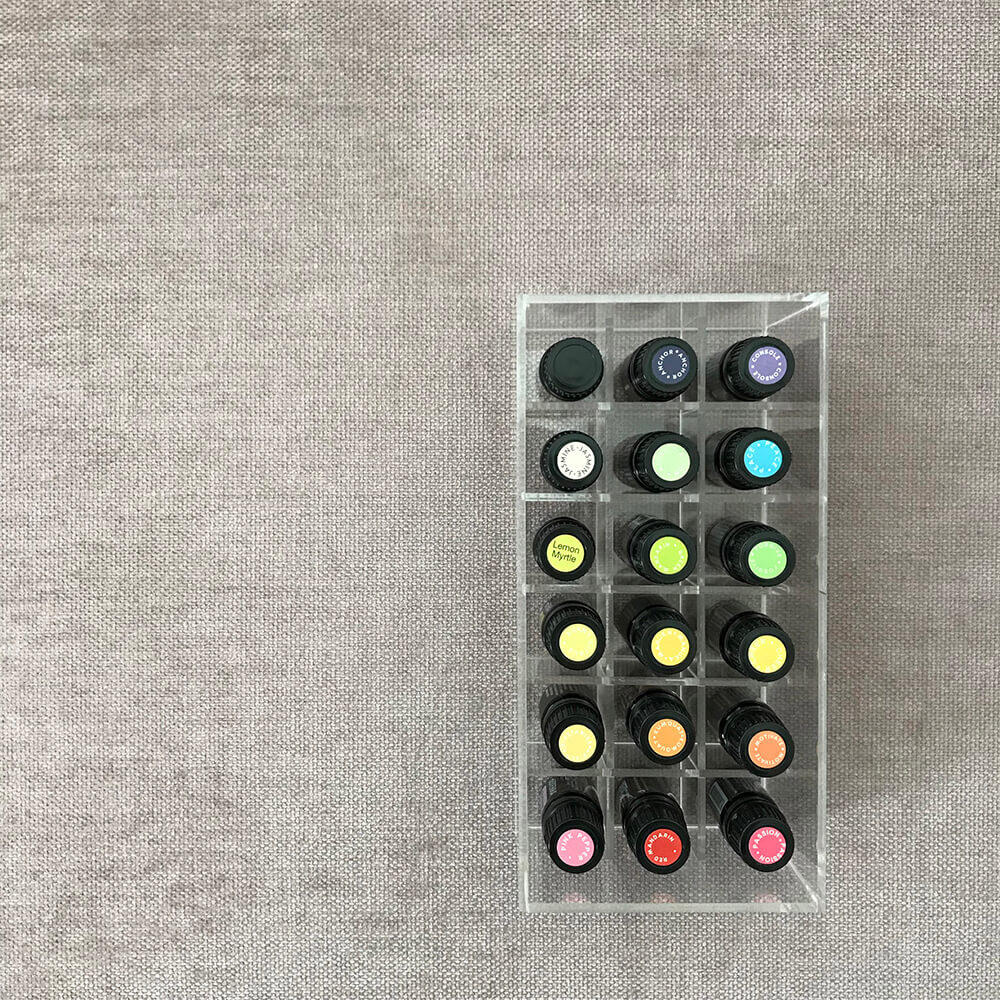
If you have an essential oil business, check out your favourite accounts to see what you like about their style so much? Do they post single bottles with some text? Do they post a lot of diffuser blends? Do they have a ton of pictures that are flat lays (where you lay things flat on a surface, and shoot the photo from directly on top)?
Start with what YOU love, that’s what makes up your brand! Use what you have around your house, there’s no need to buy a bunch of props just for Instagram photos.
If your subject is one plain item, like one bottle of essential oil or your favourite ingredient, take a colourful dishtowel, cozy blanket, cutlery, napkin, or something that relates to that subject, and arrange it around it so that the subject follows the rule of thirds.
Here are some examples from my own Instagram feed:

My actual bookshelf in my office. I layered up a framed print, a moroccan basket, rosemary smudge stick, some fantastic books and a personal journal, and a crystal for texture.

A lovely page from a Dwell magazine, a few of my crystals, a fake succulent, my own glasses and camera (and hand!), and one of my favourite essential oil diffuser blends.

My own essential oil diffuser, essential oils, roller bottle holder, the same fake succulent, and Natural You book from doTERRA’s 2017 Convention.
#4 Post more pictures of YOU
Truth time: I totally suck at this. Like, so badly.
I hate taking selfies (it just feels like I’m too into myself!), and unless I have professional pics, I rarely post candid ones. I’m a total perfectionist that way.
Don’t be like me. Posting more pictures of yourself has been proven by several high profile people to get more followers on Instagram.
One of these people is Jenna Kutcher, who as of the time of writing this, has just over 800,000 followers on Instagram. She recorded a podcast episode all about how she doubled her Instagram growth in one month by posting almost exclusively pictures of herself … and how uncomfortable that felt.
But guess what? People could follow about a million other health coaches, nutritionists, or essential oil educators, but they follow you for YOU. So show them more of you!
My challenge to myself in 2019 is to stop using the stock photo service that I use as a crutch to not show up as my perfectly imperfect self on Instagram.
More selfies and casual photos, even when my skin is broken out or I’m having a bad hair day.
Less professional, air brushed, 2 hours spent on hair and makeup, wind machine pictures (as much as it pains me to say that because who doesn’t want to show up on Instagram looking like the best model version of themselves?!).
Do your own experiment for a few weeks or a month, and post way more pictures of yourself to see if your engagement and followers goes up. Then come find me on Instagram to share what happened!
#5 Edit your pictures
I saved the BEST tip for last with editing, it’s the top secret to making your Instagram feed look as amazing as a professional photographer’s (along with planning your feed, but that’s a whole other post)!
This is the power of editing (behind the scenes our laundry/mud room renovation):

Before editing

After editing (seriously!)
and another example from my living room:
Before editing

After editing
The best part is that there are so many free apps to edit your pictures, and once you get the hang of it, it literally takes 30 seconds.
I think everyone can agree that there’s no contest between the before and afters above, and that just by taking 30 seconds to edit each picture before you post, your feed will look way more professional, and you can bet money that you’ll get more followers on Instagram.
It took me years to find the best apps to edit my pictures, plus some of the other secrets I have for taking your Instagram feed and your Stories up a notch (or three).
I recorded a quick video training to show you some tricks for taking better pictures with your smart phone.
This short video training includes:
- how to turn on the photo grid
- what free apps I love and personally use to edit my photos
- what’s worth paying a few dollars for when it comes to saving time editing your photos
- a live run through of me editing a photo, to show you the full capabilities of these apps!
- how to do a custom crop of your photos for Instagram Stories


